QUICK ANSWER
Before-and-after images can be useful, but they do not tell the whole restoration story unless you know what to look for.
This resource is written for property owners, church committees and managers preparing for stained glass repair, restoration or preservation conversations. It is educational and does not replace a project-specific assessment.
Before-and-after photographs are powerful, but they can also be misleading if viewers focus only on brightness or color. A stained glass restoration should be judged by stability, material decisions, documentation and respect for the original window, not simply by how dramatic the transformation appears on a screen.
Brightness is not the whole result
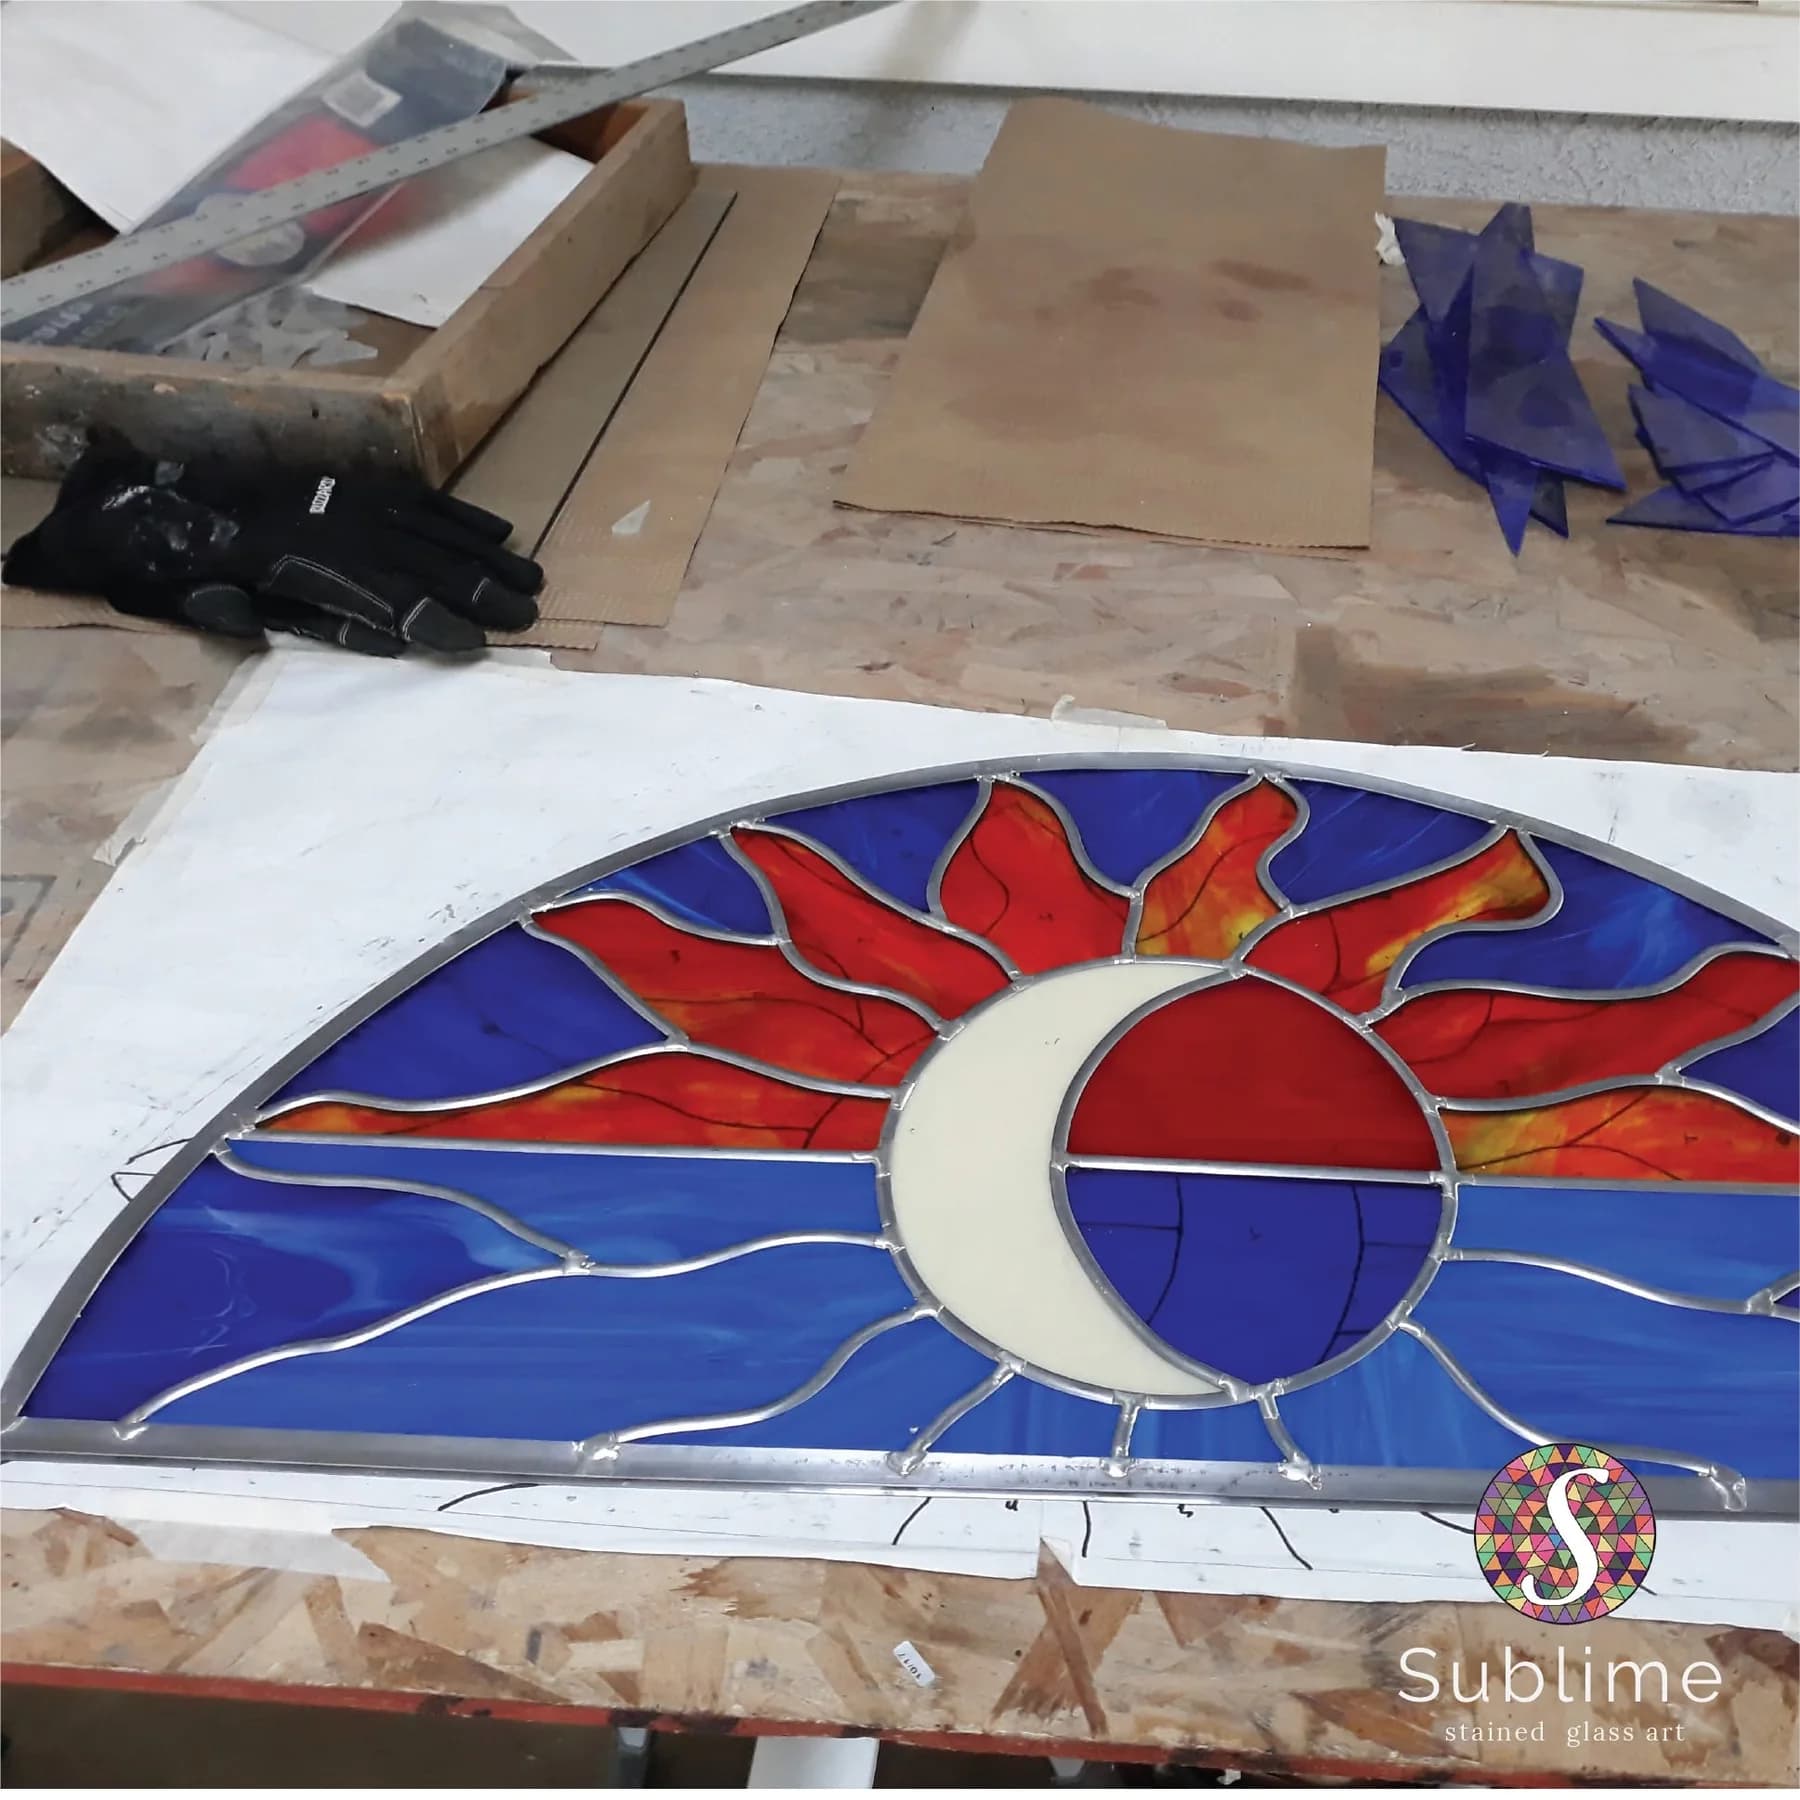
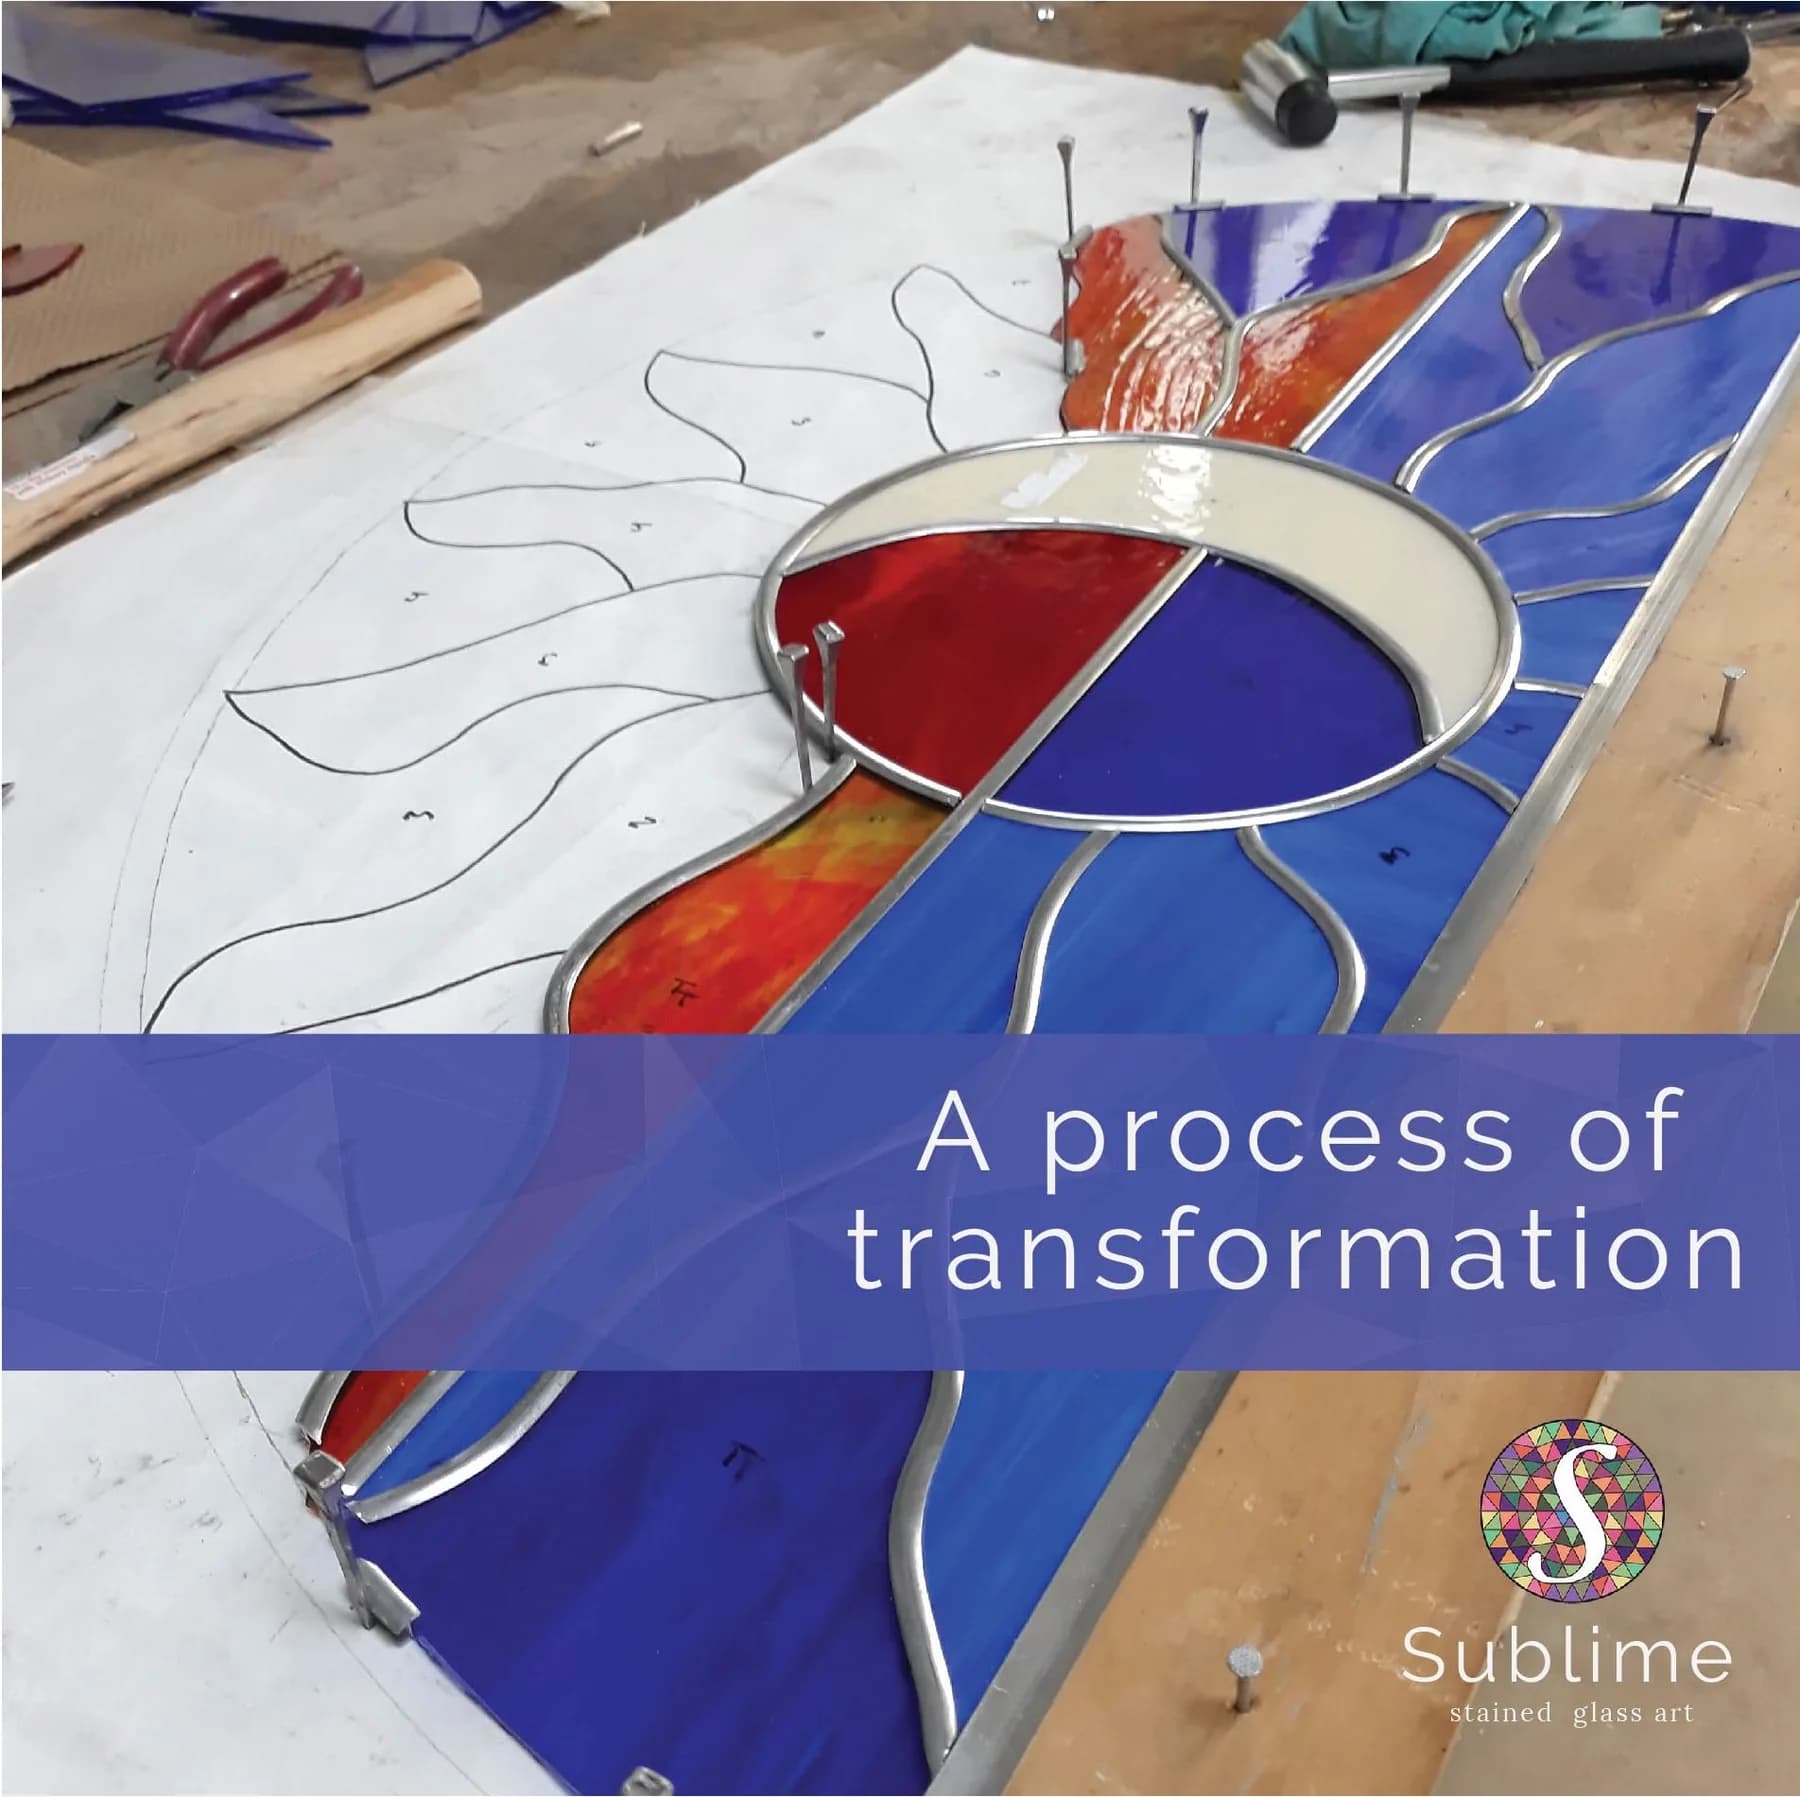
Cleaning and lighting can make a window look dramatically better, but restoration may also include hidden structural work such as releading, reinforcement, cementing or support bar correction.
Ask what changed physically, not only what looks cleaner.
- Was glass repaired or replaced?
- Was the lead network renewed?
- Were supports corrected?
- Was waterproofing addressed?
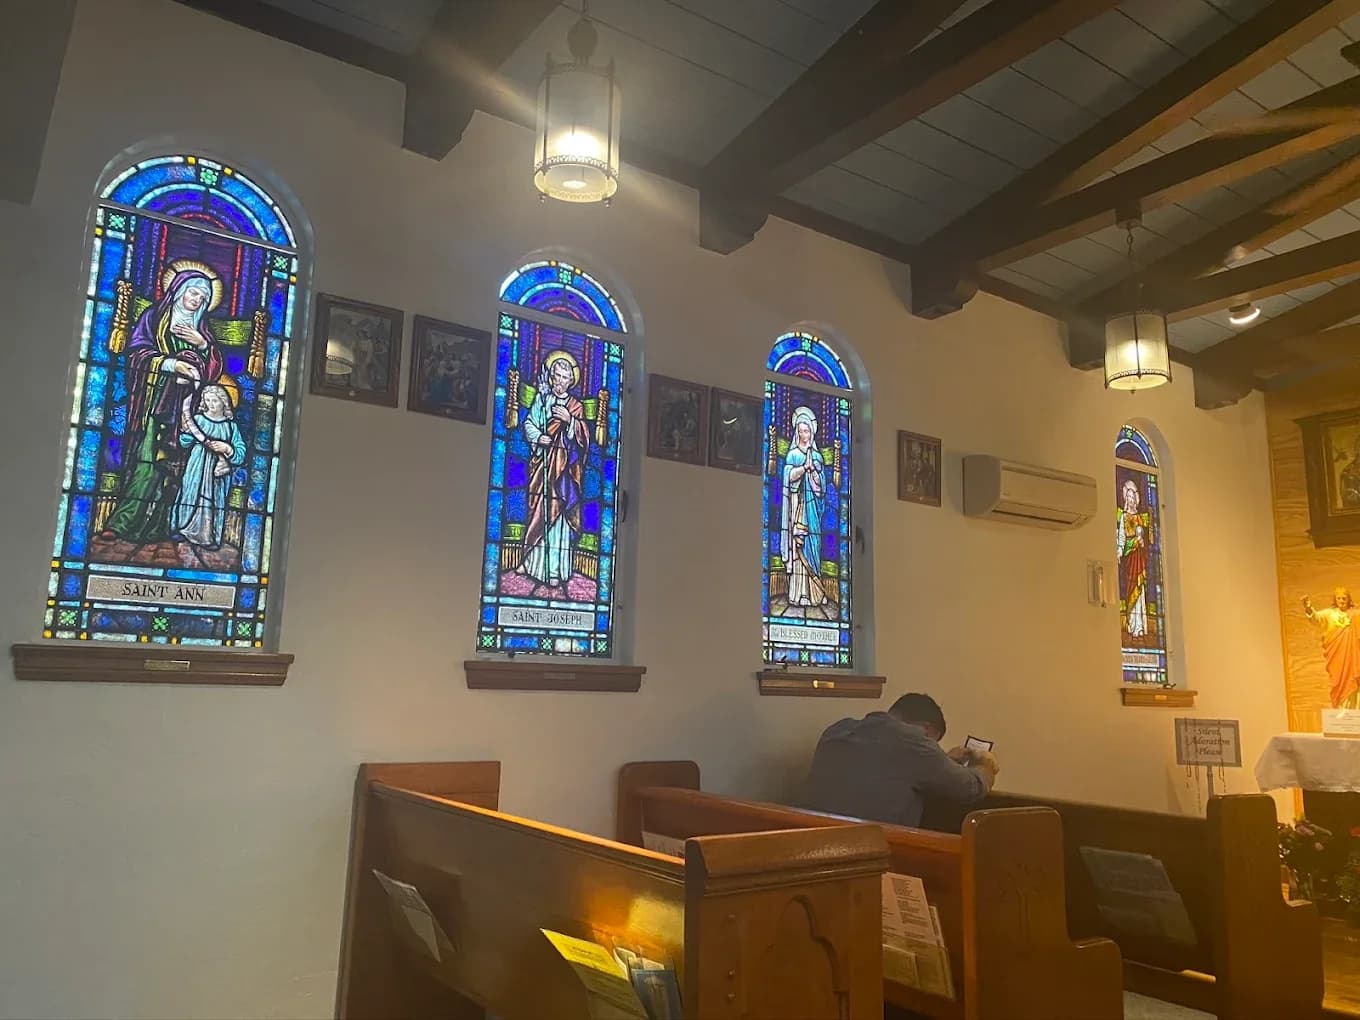
Look for alignment and panel shape
A restored panel should sit more stably in its intended plane. If a window was bowed or distorted before restoration, improvement in alignment may be more important than color change.
Good photos may show the window from enough distance to see overall shape, not only close-up beauty shots.
- Panel flatness
- Border alignment
- Tracery fit
- Frame relationship
- Reduced sagging or bulging
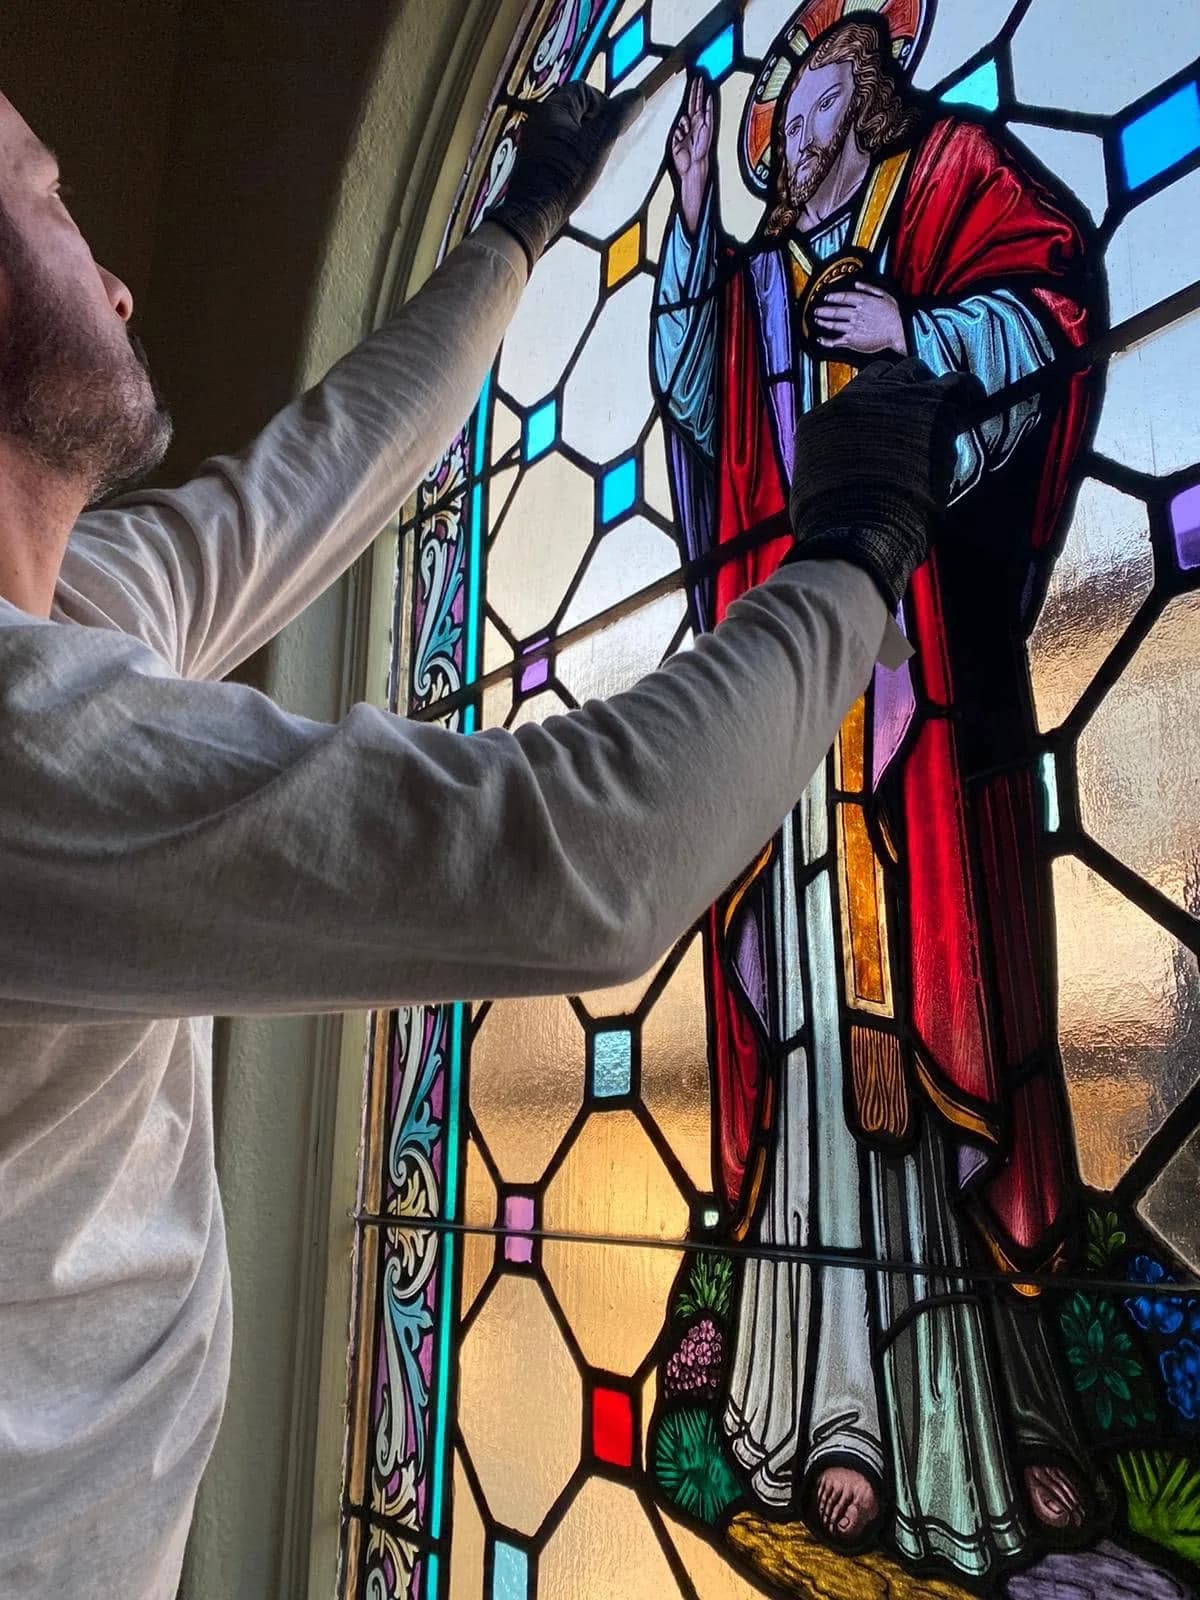
Understand replacement decisions
Some glass may be original, some may be repaired and some may be replaced. Before-and-after photos should not imply that every piece is new or that replacement is always desirable.
For historic windows, retaining serviceable original material is often a mark of quality.
- Original glass retained
- Replacement glass matched
- Fragments preserved
- Painted details protected
Ask what the photos do not show
Photos may not show panel labeling, documentation, ventilation changes, protective glazing details or hidden frame conditions. These details can matter greatly for long-term performance.
A project description should supplement the images with scope and process information.
- Documentation record
- Support system
- Protective glazing
- Frame or masonry coordination
- Maintenance recommendations
Use photos as a starting point
Before-and-after images help communicate capability, but they should lead to better questions. The most useful project pages explain the problem, treatment and outcome instead of relying on visuals alone.
For property owners, this means choosing a specialist based on process and judgment, not only a dramatic image.
- What was the initial condition?
- What treatment was completed?
- What original material remained?
- What should be monitored later?
Not necessarily. Brightness may come from cleaning or lighting. Structural stability, original material retention and documentation also matter.
Yes. Photos are stronger when paired with the problem, treatment and result in plain language.